Paper Crafts to Make Giant Peonies for Beautiful Flower Arrangements

How to Make Tissue Flowers for Your Home
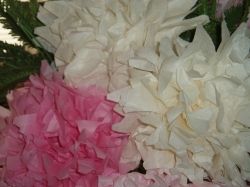
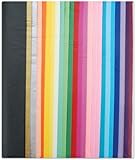
Paper Crafts to Make Giant Peonies for Beautiful Flower Arrangements. How to make tissue paper crafts into flowers from all that tissue paper you get in presents, shoe boxes and other wrapped items. Even if you don't, tissue is inexpensive to purchase and is available in all colors and sizes at most stores and online. I recently resurrected a technique I hadn't attempted since I was a teenage. My husband loves peonies, but this year our peony plants did not erupt from hiding after a warm winter. I think they may need to get a bit colder than they did this year. We live in the deep south and he temperatures stayed in the 60-70 degree range when the rest of the country was shoveling snow and fighting the cold.
I decided to surprise him with some tissue peonies to ease his disappointment. Let me tell you most people who come over think they are real. It's probably because I used white and pink tissue paper to craft them. Each flower is made from 2 full sheets that I folded in half and cut the folded end to open it. If you ever had the opportunity to make tissue flower, like the one kids make out of Kleenex this craft with be easy for you. Look around your house now, you probably have some tissue you can practice making your flowers.
Things you will need to make flowers
Want to make flowers?

Do you want to make tissue flowers?
Things you need to make peonies
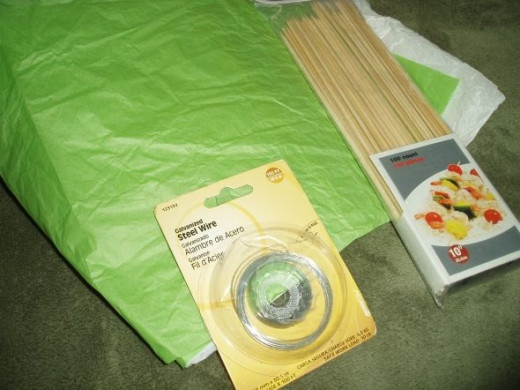
2 full sheets of tissue paper
18 inches of floral or craft wire
1 bamboo skewer
This project is good for kids, they can easily make flowers for all kinds of crafts. Flowers can be made to any size by using small sheets of tissue paper. You can substitute craft wire for bread tie and tissue paper for Kleenex. This is a wonderful rainy day project that can be done with children to entertain them for the entire day.
Lets get started all you need are 3 things for flowers fit for a vase.

Here We GO!
First take 2 full sheet of tissue paper and fold them in half.

Then fold the tissue back and forth in a fan-fold to the opposite end.

Just Like the Fans You Made as a Kid
Your paper should look like this
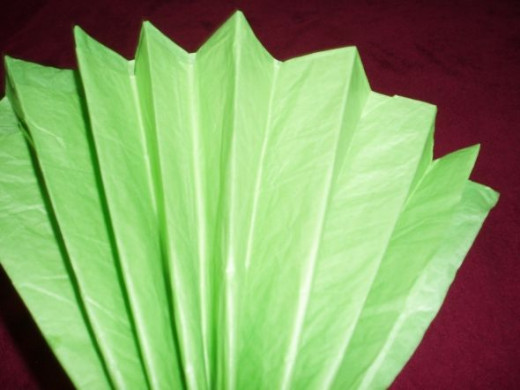
One side of this paper has a folded edge that will be cut in following steps. The easiest ways is to fold each individual sheet in half, then place the 2 folded sheet on top of each other. I tried folding the together, but it is difficult to get the wrinkles out and make them even they tend to slip.
DON"T WORRY if the ends aren't perfect, you will be cutting the ends even soon.
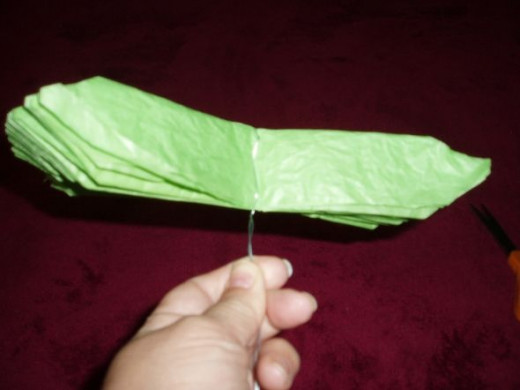
Next take the 18" piece of wire and fold in half by matching the cut ends together.

Take the wire and place the halfway point in the middle of your fanned paper.

Trim the Ends Flat
Trim the ends
Now you are ready to even out the ends of the tissue paper. Using sharp scissor cut each end to even the paper and open the end of the folded side. You can move the wire to center it again if it is no longer in the middle of the paper.
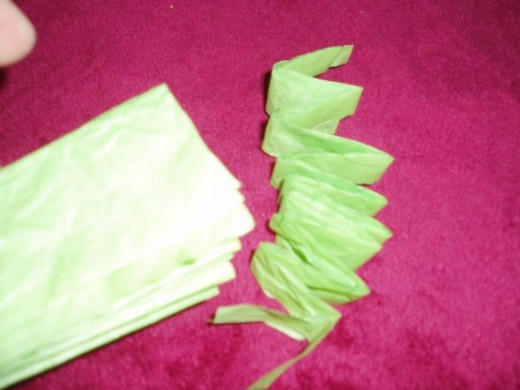
In the next step you will be cutting the ends into point. Angle your scissors and clip each side of one end to a point leave a flat edge where you just evened it out at, then do the opposite end of the fanned paper.
Carefully trim the ends at an angle, notice the flat end you will have.

If Your Paper Looks Like This You're on Your Way
This is what you should have
After completing this step you tissue paper flower should look similar to this. It doesn't matter if the angles are even as it gives the flower a more natural look.
To make a mum, you can cut the ends to a sharp point.
The Fun Begins
This is the fun step. Working on one side of the wire you will have 4 layers of tissue. Gently pull, but do not tug the first layer toward the wire. If is tears, no problem just cut to even it out. continue to with the 2nd layer then the 3rd and finally the 4th. You have just completed one side of the flower.
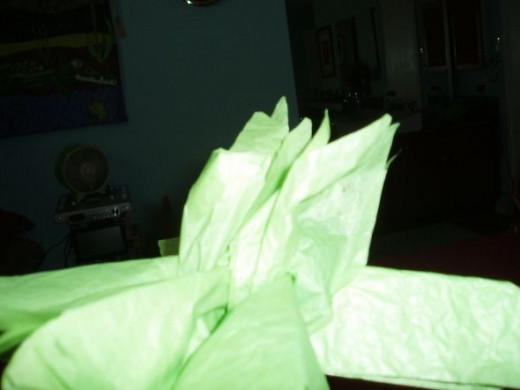
2 Layers Have Been Pulled Toward the Wire in This Photo

Your Blossom is Half Done
All four layers
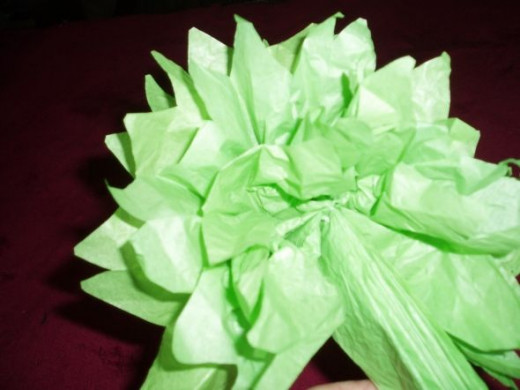
All four layers have been pulled toward the wire in this photo. You can now pull the opposite side to complete the flower top. Arrange the flower petals until you are satisfied with the fluffiness of your bloom.
The flower top completely pulled to a bloom.

Let's Make a Stem to Support it Upright
Making the stem

Simply spiral wrap the wire around the bamboo skewer.

This flower can be wrapped with florist tape to give it a green stem if desired.

Great JOB!
Make a few more and arrange them in a vase with some decorative silk ferns.
Make Roses
These pom poms were made with along piece of yarn tied in the center instead o wire. 2 flowers with the yarn tied together and

Tie a knot at the hanging end, use a push pin or straight pin and pushit into the ceiling to hang,

More Flowers
Tissue paper
Tissue paper in solid colors make flowers that look natural, if you are looking for something different use printed paper. In the photo above I used a gray and blue flowered paper on the pom pom near the back of the photo. The result was a nice mottled look for the color.
For a child's room you might try polka dots, or other printed types of paper. It would make a nice mobile over a baby's crib. In this case use paper with high contrast. You could do red, white and black or you might try fluorescent colors or any contrasting color to the wall in your child's room. High contrast is good for your baby's visual development. You might even want to make some cash and sell your creations on Etsy,


